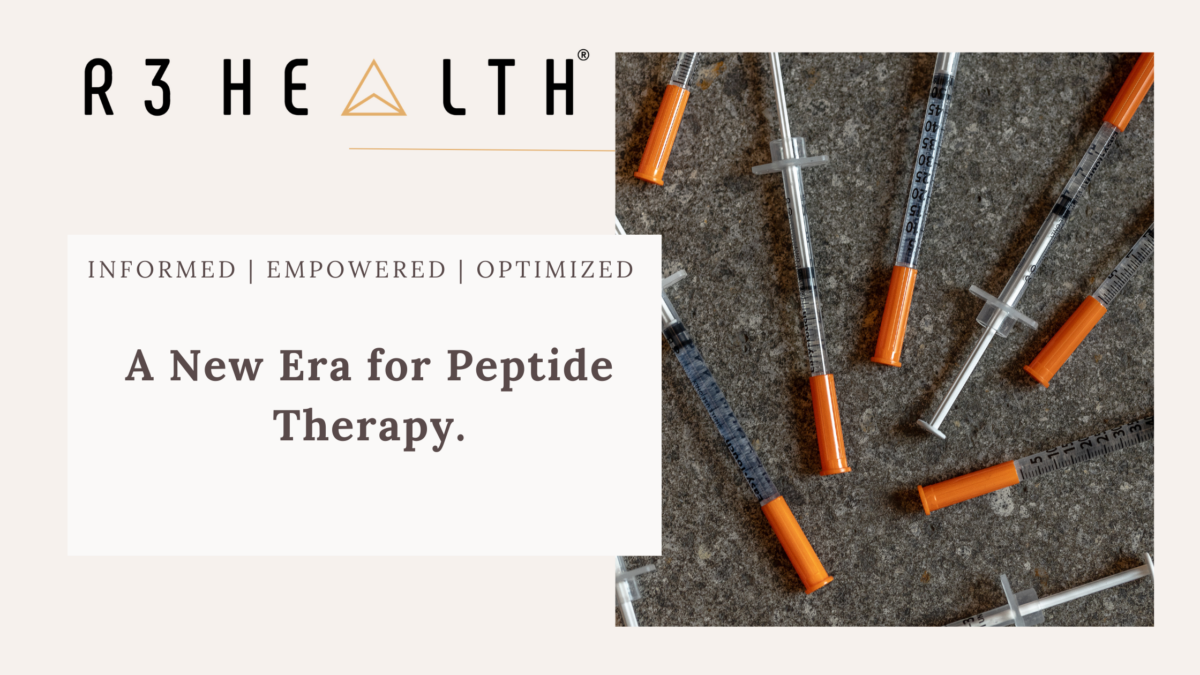
Take your health to the next level with our offering of advanced at-home wellness testing. Below, you will find easy to follow step-by-step guides for properly completing your advanced wellness tests.
Consult with your healthcare provider as it pertains to discontinuing medications and supplements, follow as instructed. One hour prior to collection do not eat, brush or floss teeth, use mouthwash, lip balm, chewing gum or any tobacco products. Only consume water during this time.
Prepping for sample Take the activation sleeve and add your date of birth and date of collection to 4-6 of the stickers, depending on if you have added on the cortisol awakening response test. After writing on them, apply one sticker to each of the specimen collection tubes.
Collecting Sample If you are doing the cortisol awakening response test, the first sample is to be collected within 5 minutes of waking up at 6:00AM.
Rinse mouth with drinking water and spit out the water completely. Do not cough or clear your throat into the collection tube.
Fill tubes in the numbered order, starting with tube 1. Fill the collection tube to the designated level. If you are having trouble generating enough saliva, try pressing the tip of your tongue against your teeth. Yawning, imagining sour or flavorful food foods, or smelling flavorful food can also help with saliva production.
If the saliva is foamy, tap the tube on a hard surface to ensure there is enough fluid in the collection tube. Once enough fluid has been collected, recap the collection tube to avoid leakage. Record start and stop times on the vial.
Place filled vial in the provided biohazard bag and into the freezer.
Repeat the steps above for the next 4 tubes. (Still film this process, we can speed up on the video). Collection two should happen 30-minutes after waking and have 1mL of saliva. Collection 3 should have 3mL of saliva and be collected between 7:00 and 9:00AM. Collection 4 should have 3mL of saliva and be collected between 11:00AM and 1:00PM. Collection 5 should have 3mL of saliva and be collected between 3:00PM and 5:00PM. The final collection, collection 6 should have 3mL of saliva and be collected between 100:00PM and 12:00AM.
All collected samples should be frozen for a minimum of 2-hours prior to sending. Keep in the freezer until ready to ship.
Shipping Remove the biohazard bag from the freezer and place back in the specimen collection kit. Place the box into the provided FedEx packaging and add the label to the outside of the FedEx pouch. Bring packaged kit to any FedEx drop off location.
Consult with your healthcare provider as it pertains to discontinuing medications and supplements, follow as instructed. 24-hours before you plan to collect your sample, drink no more than (6) 8-ounce glasses of fluid. Be sure to fast overnight. Place provided freezer block in the freezer for a minimum of 8-hours. Continue your nightly routine of brushing teeth and flossing of teeth, but do not use mouthwash.
Urine Collection Take the activation sleeve and add your date of birth and date of collection to (3) of the stickers. After writing it, apply the sticker to each of the specimen collection tubes.
The sample must be collected from the first morning urination. Collect the sample into a clean container.
If you urinate during the night, collect that sample, store it in the refrigerator overnight, and combine with the first morning urination.
Stir the sample, using the provided pipet. After stirring, use the pipet to transfer urine sample from the cup to the three collection tubes. Add urine sample to each tube until nearly filled.
Once filled, recap the collection tubes and shake. After shaking the samples, place samples in the provided biohazard bags and place in the freezer for a minimum of 2-hours.
Shipping Remove the biohazard bags from the freezer and place back in the specimen collection foam insulator box with the ice pack that has frozen for a minimum of 8-hours. Place the box into the provided FedEx packaging and add the label to the outside of the FedEx pouch. Bring packaged kit to any FedEx drop off location.
The patient should be 4-weeks post colonoscopy and off antibiotics for a minimum of 2-weeks. Unless specified by your medical provider, discontinue the use of NASIADs, rectal suppositories, enemas, activated charcoal, bismuth, betaine HCL, digestive enzymes, antacids, laxatives, mineral oil, castor oil, and bentonite clay 48-hours prior to collection.
Prepping for sample Take the activation sleeve and add your date of birth and date of collection to (5) of the stickers. After writing on them, apply one sticker to each of the specimen collection tubes.
Sample collection Using the provided tray, collect stool sample. Avoid urine and water from the toilet coming in contact with the sample.
Tube Collection Carefully remove the lid from the green collection tube. Using the scoop attached to the lid, begin to collect the stool sample. Add the sample into the fluid in the collection container. Be cautious when handling vials with fluid inside as you want to avoid physical contact with the harsh chemicals within the collection vial. Collect from different areas of the stool sample until the contents of the vial reach the red fill line. Mix the sample with the fluid until it has a smooth consistency. Screw the cap back on and shake the tube for 30-seconds.
Repeat steps above for the pink, orange, and clear top.
Swab collection Open the swab package and remove the vial but leave the swab in sleeve until ready for use. Add the last label to the vial. Set the vial on a flat surface and remove the orange cap. Once the vial has been opened, grab the swab, touching only above the middle notch.
Insert the tip of the swab into the stool sample and twist until evenly coated in the sample. Once coated, mash the sample on the inside of the tube. Break the stick at the middle notch and leave the bottom portion of the swab in the collection vial. Place the orange cap on the vial and screw it in place tightly.
Add all samples to the provided biohazard bags and refrigerate until ready for shipment. Do not freeze.
Shipping Remove the biohazard bags from the refrigerator and place back in the specimen collection kit box. Place the box into the provided FedEx packaging and add the label to the outside of the FedEx pouch. Bring packaged kit to any FedEx drop off location.
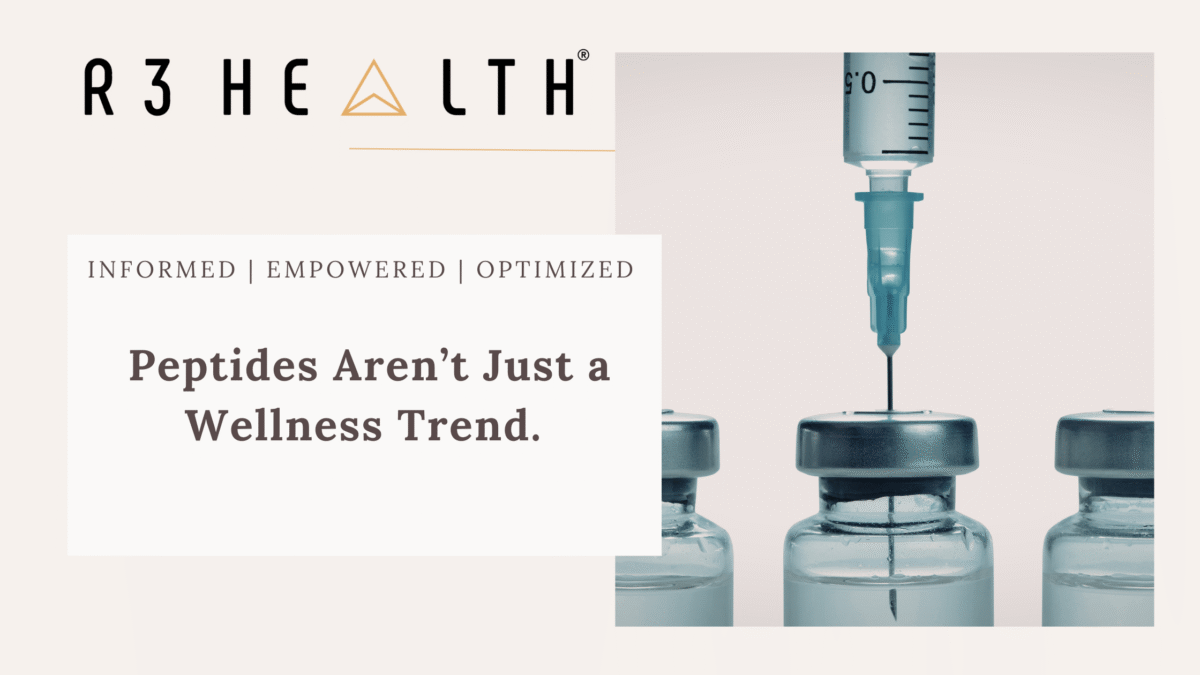
At R3 Health, we are dedicated to empowering our patient’s role in their wellness journey. For us, this process is about giving you the tools to make informed decisions about your healthcare and only moving forward with the suggestions that you feel will be the best for you. Request a call today or contact us at (561) 677-2894 to learn how our wellness community can support your health, lifestyle, and medical goals.